Coin surfaces reveal much magnified
The surface of every coin tells a story and the story gets more interesting with each increase of magnification used to view it. As such, many coins that look unquestionably genuine at first glance, fall apart when examined using magnification. I’ve written before about the power of the hand lens I prefer, but it boils down to a personal choice for each collector. Experienced numismatists, dealers and professional authenticators report excellent results using a 5X to 10X hand lens.
The surface of every coin tells a story and the story gets more interesting with each increase of magnification used to view it. As such, many coins that look unquestionably genuine at first glance, fall apart when examined using magnification. I’ve written before about the power of the hand lens I prefer, but it boils down to a personal choice for each collector. Experienced numismatists, dealers and professional authenticators report excellent results using a 5X to 10X hand lens. I have witnessed this myself while watching them examine a coin. Nevertheless, I prefer using a stereo microscope and fluorescent light to view coins I am asked to authenticate. It’s the way I was taught nearly 40 years ago. The surface of a coin looks differently when viewed using both eyes rather than one no matter what the magnification used.
Let’s look closely at several different counterfeit coins that were not detected by numerous professionals while using only a hand lens. Pay close attention to some of the characteristics of these fakes that you can watch for when purchasing coins. The micrographs of each surface were taken using 10-12 power and fluorescent light. For this exercise, the country, denomination and date of the fakes do not matter as all were arguably made after 1990 and similar defects can be found on the counterfeits produced today.
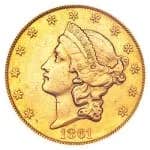
Let’s start with Figure 1. Look at the flat surface between the crown detail and wreath. The key here is “flat.” A genuine coin’s surface should be relatively flat. This fake exhibits a rough, wavy field with random bumps, minute depressions and weak die polish lines. This particular fake shows very little metal flow. I would expect to see minute stress lines going from the bottom left to the top right in the micrograph if the coin were genuine. Although this coin has full luster, its surface has no life. There is no contrast between the field and design. The wavy surface and lack of metal flow on this brilliant uncirculated coin should raise suspicion.
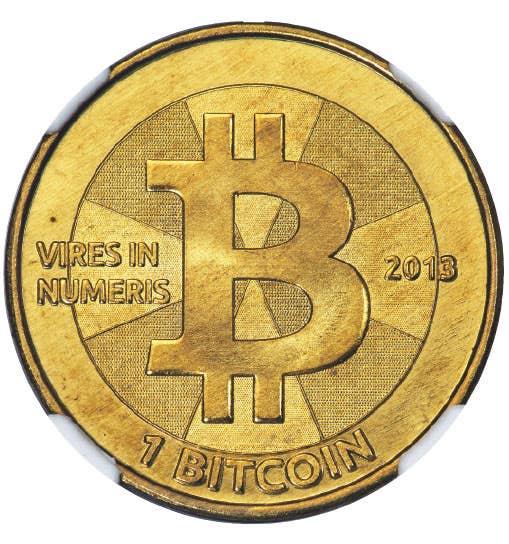
Contrast Figure 1 with the coin in Figure 2. It also has full luster only in this case the surface is not uniformly dull. It reflects light nicely and has the life missing from the previous coin. This fake also has radial flow lines going from top to bottom in the micrograph. It is a beautiful gem to look at yet under the scope we determined it is a modern fake. The surfaces are uniformly rough and granular. Although the letters in the legend are fairly sharp (a plus), their surface is wavy and uneven. There is a spike tool mark over the left side of the “R” and several other characteristics we should not expect to see on a genuine piece. The long die scratch under the “RE” is of no consequence yet the “pushed-up” crescent mark under the “R” and the “crease” to the left of the upper serif are unusual. Also note the diagonal die scratch from the “R” to the “E.” Die polish that is transferred from a genuine coin to a fake is often as indistinct as this one.
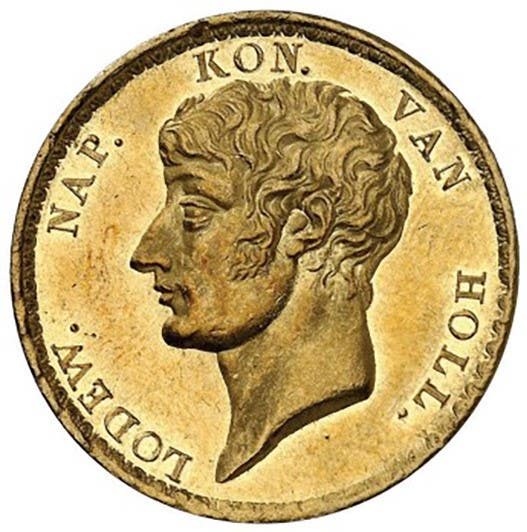
There is a group of defects near the rim of the counterfeit in Figure 3. Genuine dies are rarely encountered with this amount of damage. The fake die used to make this counterfeit had numerous sunken areas that produced the raised defects. Additionally, abnormally high parts of the die caused the long depression. We know this is not damage to the coin after it was made because the surface of this fake is totally original with full luster. All the defects have the same surface. Every mark you see in this micrograph was on the counterfeit die.
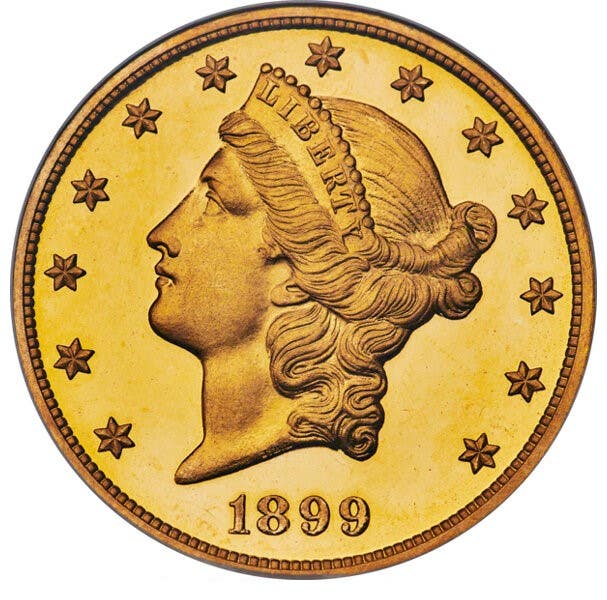
Finally, what is going on in Figure 4? This fake also has full luster and some life to its surface. You can see radial metal flow between the “Xs.” Despite these qualities, genuine coins are rarely found with the large, wavy depressions as seen under the “X.” There is also a round pimple and several weak polish marks on the surface. I’ll stress again that the surfaces of genuine coins are virtually flat, without the large defects seen here. One more key to identify these fakes is that they all are fully lustrous and uncirculated, yet they exhibit defects having the same uniform surface as other parts of the coin. If these coins were circulated just a bit, they would be harder to detect.
More Coin Collecting Resources:
• Subscribe to our Coin Price Guide, buy Coin Books & Coin Folders and join the NumisMaster VIP Program


